How to Install Curtain Rods Properly for a Balanced and Professional Finish
Installing curtain rods correctly is one of the most overlooked details in home styling. While curtains often get the attention, the placement and installation of the rod determine how well those curtains function and how polished the room ultimately looks. Poor installation can lead to sagging rods, uneven curtains, blocked sunlight, and even wall damage over time.
This guide breaks down the process step by step, helping homeowners achieve a clean, durable, and visually balanced result.
Why Proper Curtain Rod Installation Matters
Curtain rods do more than hold fabric. They frame the window, influence how much light enters the room, and affect how tall or wide the space feels. When rods are installed too low or too narrow, windows can appear smaller and rooms can feel cramped.
Correct installation allows curtains to open fully, improves airflow, and creates a sense of proportion that enhances the entire interior.
Choosing the Right Curtain Rod for Your Space
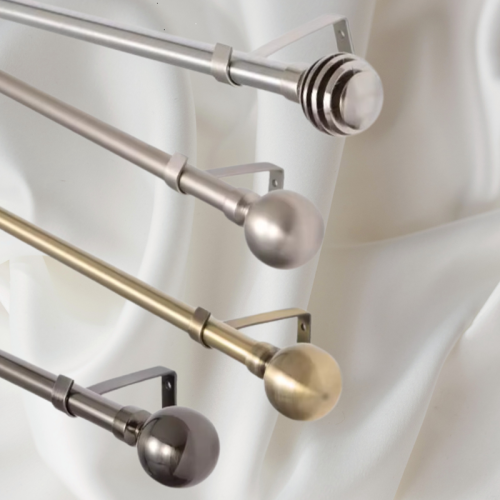
Before installing anything, it’s important to choose a rod that suits both the curtain weight and the room style. Lightweight rods are suitable for sheer curtains, while heavier fabrics such as lined or blockout curtains require thicker rods with reinforced brackets.
Rod length also matters. Ideally, the rod should extend beyond the window frame on both sides. This allows curtains to rest against the wall when open rather than covering the glass.
Tools and Materials You’ll Need
Having the right tools ensures a smoother installation and a stronger result:
-
Measuring tape
-
Pencil
-
Spirit level
-
Drill
-
Wall anchors
-
Screws and brackets
Using proper wall anchors is especially important in plaster or drywall, where screws alone may not provide long-term support.
Measuring and Marking the Correct Position
Start by measuring the width of the window and deciding how far the rod should extend beyond it. A common guideline is 15–25 cm on each side. Next, decide the height. Hanging the rod 10–20 cm above the window frame usually creates a more elegant and spacious look.
Mark the bracket positions lightly with a pencil. Always use a spirit level to ensure both sides are perfectly aligned.
Installing Brackets Securely
Drill pilot holes at the marked points. If no wall studs are present, insert wall anchors before fixing the brackets. Secure the brackets firmly, but avoid overtightening, which can damage the wall surface.
Double-check alignment before tightening everything completely.
Mounting the Rod and Hanging Curtains
Place the curtain rod onto the brackets and secure it according to the manufacturer’s instructions. Thread curtains onto the rod if required before final mounting.
Once hung, adjust the folds evenly so the curtains hang symmetrically and slide smoothly.

Common Installation Mistakes to Avoid
Common mistakes include mounting rods too close to the window frame, skipping wall anchors, or using a rod that’s too weak for the curtain weight. These issues can lead to sagging or uneven curtains over time.
Local Homeowner Tips
In homes with strong sunlight, wider rod placement helps prevent fabric fading by allowing curtains to clear the glass completely. For older homes, always check wall strength before drilling.
FAQs
For homeowners seeking durable fittings and expert window solutions, Consol Blinds & Homes provides guidance designed to suit modern homes and everyday living.


Comments
Post a Comment